How to Connect iPhone Camera to PC: A Comprehensive 2024 Guide
Introduction
Connecting your iPhone camera to your PC can open up a world of possibilities, from backing up photos to editing them on a bigger screen. Whether you’re a professional photographer or a casual user, this guide will provide you with the steps and tools you need to connect your iPhone camera to your PC. By following this guide, you’ll learn how to efficiently transfer photos and videos, resolve common issues, and select the best method that suits your needs.
Checking Requirements
Before diving into the various methods of connecting your iPhone camera to your PC, let’s quickly go over the essential requirements. Make sure you have the following:
- A Windows PC with updated software.
- An iPhone with the latest iOS version.
- A USB cable compatible with your iPhone.
- A stable internet connection for wireless methods.
Confirming these requirements will ensure a smooth connection setup and reduce potential troubleshooting down the line.
Using the Photos App on Windows
The Photos app on Windows is an easy and intuitive way to transfer your images.
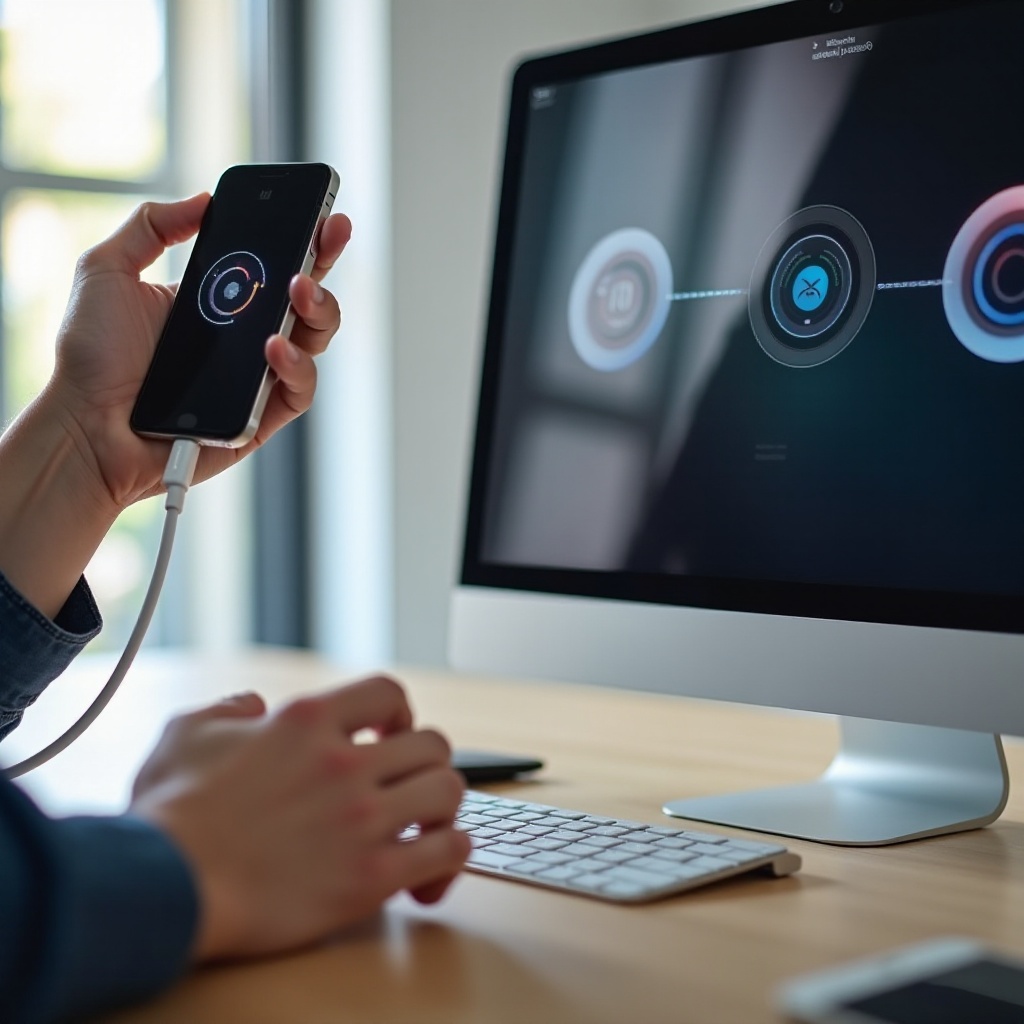
- Connect Your iPhone:
- Use a USB cable to connect your iPhone to your PC.
-
Unlock your iPhone. If prompted, tap ‘Trust This Computer’ on your iPhone.
-
Open the Photos App:
- On your Windows PC, open the Photos app from the Start menu.
-
Click on the ‘Import’ button at the top right of the Photos app interface.
-
Select the Photos and Videos:
- Choose ‘From a USB device’ when prompted.
- The app will search for photos and videos stored on your iPhone.
- Select the items you wish to import and click ‘Import Selected’.
By following these steps, all selected photos and videos will be transferred to your PC, allowing easy access and storage.
Using Third-Party Software
In addition to the built-in options, third-party software can offer additional features and functionalities.
Using iCloud for Windows
- Install iCloud for Windows:
- Download and install iCloud for Windows from the Apple website.
-
Open iCloud and sign in with your Apple ID.
-
Enable iCloud Photo Library:
- Check the box next to ‘Photos’.
-
Click on ‘Options’ to ensure ‘iCloud Photos’ is activated.
-
Download Photos:
- Open File Explorer on your PC.
- Navigate to the ‘iCloud Photos’ folder to view and download your photos.
Using AnyTrans
- Download AnyTrans:
- Install AnyTrans on your PC from the official website.
-
Connect your iPhone to your PC using a USB cable.
-
Transfer Photos:
- Open AnyTrans and select ‘Content to Computer’.
- Choose ‘Photos’ and select the specific albums or images you want to transfer.
- Click ‘Next’ and complete the transfer.
Wireless Connection Options
For those who prefer wireless methods, several options are available.
Using iCloud Photos
- Enable iCloud Photos on iPhone:
- Go to ‘Settings’ on your iPhone.
- Tap on your Apple ID, then ‘iCloud’, and select ‘Photos’.
-
Toggle on ‘iCloud Photos’.
-
Access iCloud on PC:
- Open a web browser and go to iCloud.com.
- Log in with your Apple ID, and go to ‘Photos’.
- Download the images to your PC.
Using AirDrop (Mac only)
- Enable AirDrop on iPhone and Mac:
- Swipe up on your iPhone to open Control Center and ensure AirDrop is on.
-
On your Mac, go to ‘Finder’ -> ‘AirDrop’.
-
Transfer Photos:
- Open the Photos app on your iPhone.
- Select the images you want to transfer and tap the ‘Share’ icon.
- Choose your Mac from the AirDrop options.
Using Wireless Third-Party Apps
There are several wireless apps that can facilitate the transfer of photos and videos.
- Download a Wireless App:
- Apps like Send Anywhere or PhotoSync can be helpful.
-
Install the app on both your iPhone and PC.
-
Transfer Photos:
- Follow the app’s instructions for connecting your devices.
- Select and transfer your photos wirelessly.

Troubleshooting Common Issues
Despite following the steps, you might encounter occasional issues. Here’s how to troubleshoot common ones:
- PC Doesn’t Recognize iPhone:
- Try a different USB port or cable.
- Restart both devices.
-
Ensure the iPhone is unlocked and ‘Trust This Computer’ is selected.
-
Slow Transfer Speed:
- Use a high-quality USB cable.
-
Close other applications to free up bandwidth.
-
iCloud Sync Issues:
- Check your internet connection.
- Ensure your iOS and iCloud for Windows are up to date.

Conclusion
Connecting your iPhone camera to your PC is a straightforward process with multiple methods available, including both wired and wireless options. By following the steps outlined in this guide, you can transfer your valuable photos and videos seamlessly, troubleshoot common issues, and select the best method to suit your needs.
Frequently Asked Questions
What to do if the PC doesn’t recognize the iPhone?
If your PC doesn’t recognize your iPhone, try using a different USB port or cable, ensure your iPhone is unlocked, and select ‘Trust This Computer’ when prompted.
How can I use iPhone Continuity Camera on Windows?
The Continuity Camera feature is exclusive to macOS. However, third-party apps like EpocCam allow similar functionality on Windows.
Can I transfer videos from iPhone to PC without losing quality?
Yes, transferring videos using USB cable via Photos App, AnyTrans, or iCloud Photos retain the original quality.