How to Start EOS Utility on Laptop
Introduction
For enthusiasts and professionals in photography, Canon’s EOS Utility is an invaluable tool that simplifies the process of connecting your Canon camera to a computer. This software allows for remote shooting, downloading images directly from your camera, and even camera settings adjustments from your laptop. If you’re wondering how to start EOS Utility on your laptop, you’ve come to the right place. Here, we’ll take you through an easy-to-follow guide on getting started with EOS Utility in no time.
Understanding EOS Utility
EOS Utility is a software provided by Canon designed to streamline the workflow between your Canon EOS camera and a computer. It facilitates various tasks such as image transfer, remote shooting, and live shooting, providing photographers with greater control over their shooting process. This functionality is particularly useful in studio setups or for anyone managing large numbers of images. Understanding this software’s versatility can significantly enhance your photographic experience, making it vital to know how to operate and troubleshoot it.
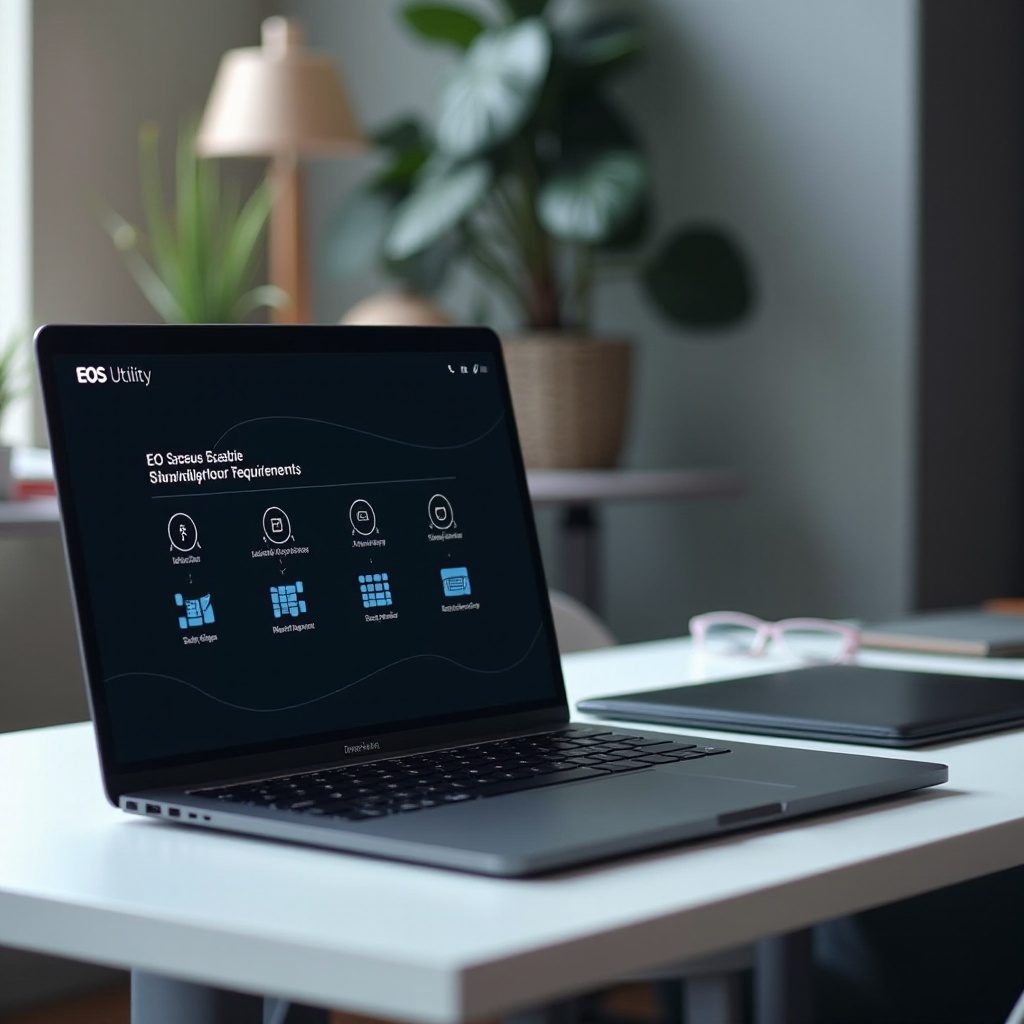
System Requirements
Before diving into the installation process, it’s important to ensure your system meets the necessary requirements for running EOS Utility. Generally, the software supports a range of Windows and MacOS versions:
– Windows: Windows 8.1, Windows 10, or later
– MacOS: macOS 10.13, 10.14, or later
Additionally, you’ll need sufficient storage space (at least 100MB of free space) and an internet connection for downloading the software. Ensuring compatibility will prevent installation issues and enhance your user experience.
Downloading EOS Utility
The first step to getting EOS Utility on your laptop is downloading the software from Canon’s official website. Follow these steps:
1. Visit the Canon support website.
2. Search for your camera model.
3. Navigate to the ‘Drivers & Downloads’ section.
4. Select the appropriate version of EOS Utility based on your operating system.
5. Click on the download link.
Once the download is complete, locate the file in your Downloads folder to proceed with the installation.
Installing EOS Utility
With the downloaded file ready, you can now install EOS Utility on your laptop:
1. Double-click the downloaded installer file.
2. Follow the on-screen instructions to proceed with the installation.
3. Choose the default installation location or specify a preferred directory.
4. Complete the installation by following the remaining setup steps.
After the installation, ensure all components are correctly installed by restarting your laptop if prompted.
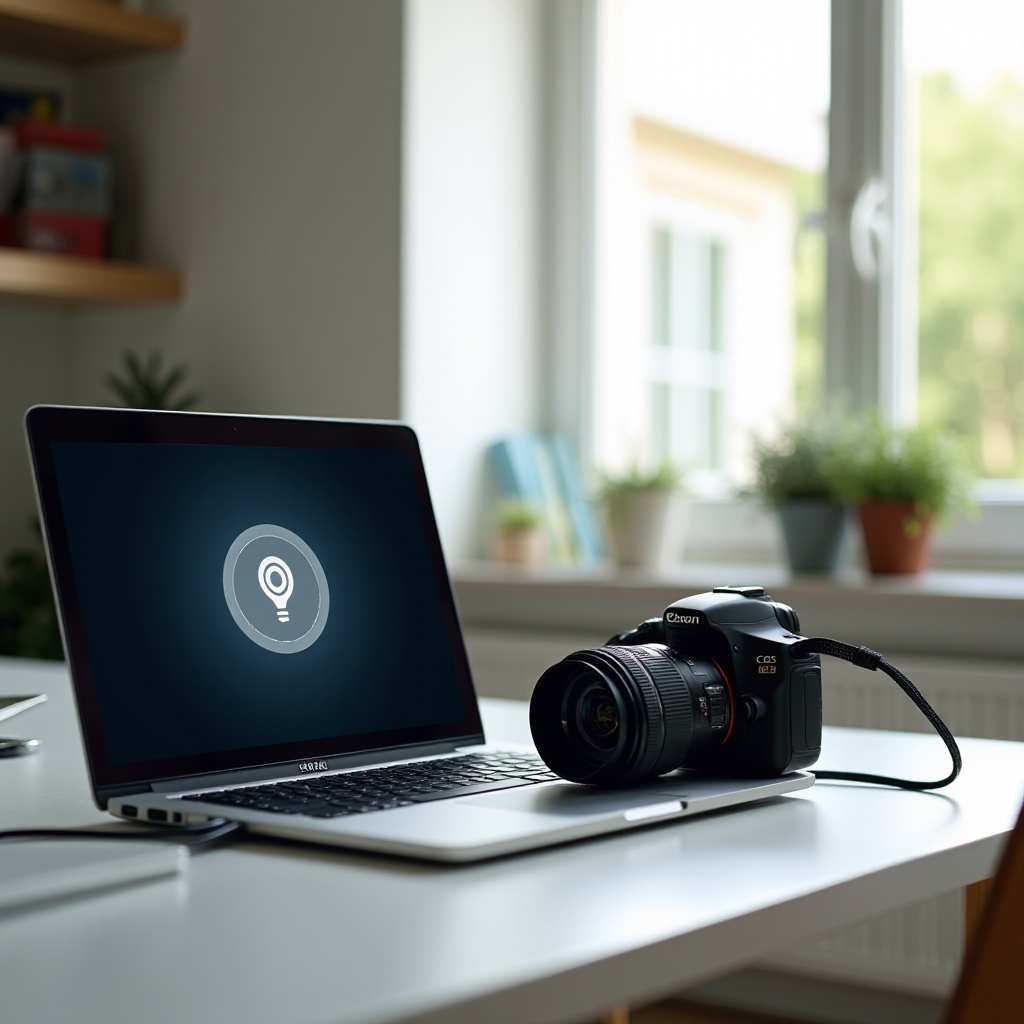
Connecting Your Camera to Your Laptop
Your software is now ready, and it’s time to connect your camera:
1. Turn off your camera.
2. Use the USB cable that came with your camera to connect it to your laptop.
3. Turn on your camera.
4. Wait for your laptop to recognize the connected camera.
Making sure your camera is properly connected is crucial as it facilitates the seamless operation of EOS Utility.
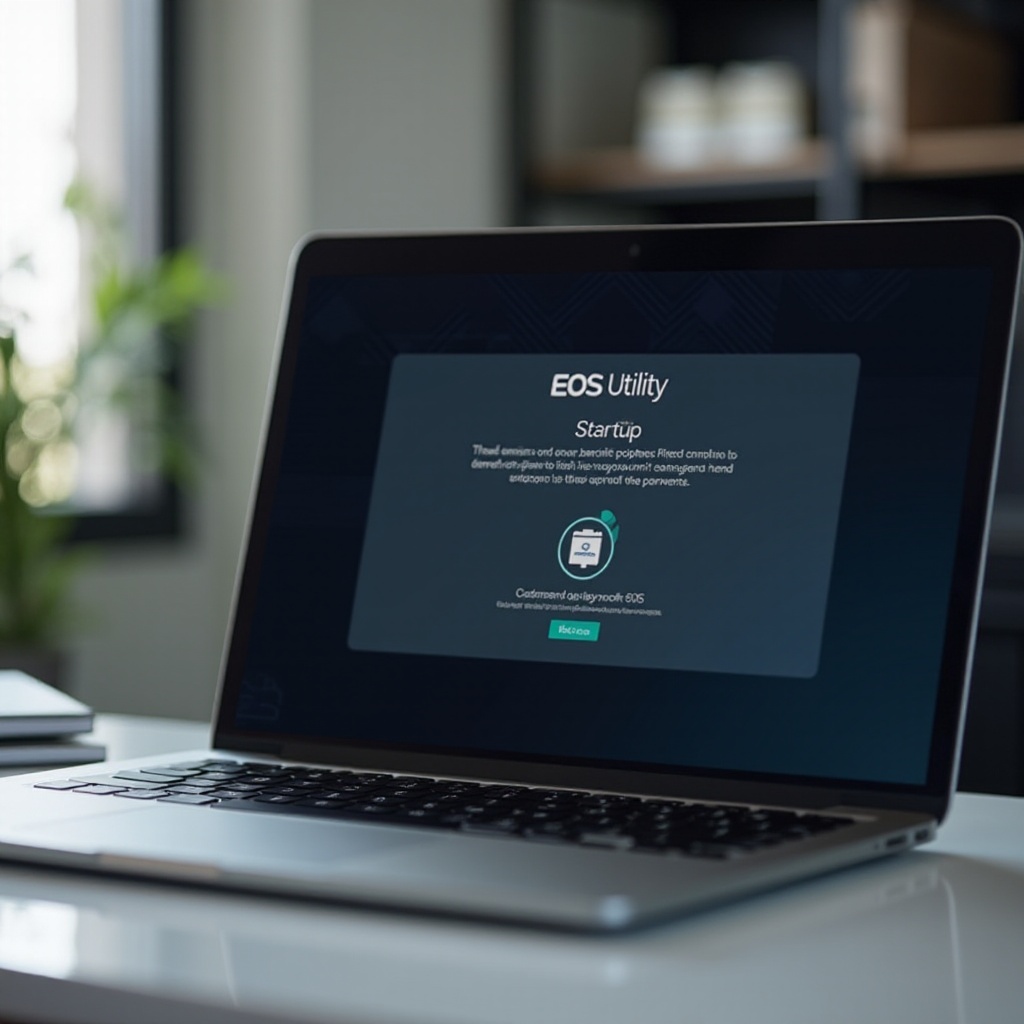
Starting EOS Utility
Once you have connected your camera, you can start EOS Utility:
1. From your desktop, locate the EOS Utility icon or search for it in your programs.
2. Click to open the software.
3. The software should detect your connected camera automatically.
Through EOS Utility, you can now access various functionalities, including remote shooting and live view mode, enhancing your photography workflow significantly.
Troubleshooting Common Issues
At times, you may encounter issues while using EOS Utility. Here are some common problems and their potential fixes:
– Camera Not Detected: Ensure the USB cable is connected securely and try different USB ports.
– Outdated Software: Check Canon’s website for updates to EOS Utility and install any available updates.
– Driver Issues: Reinstall the drivers for your camera if it’s not being recognized.
– Permission Issues on MacOS: Make sure the application has necessary permissions under System Preferences.
Tips and Tricks
To make the most out of EOS Utility, consider the following tips:
– Regular Updates: Keep the software updated to the latest version for optimal performance.
– Remote Shooting Advantages: Use remote shooting for high-stakes situations to avoid camera shake.
– Organize Your Images: Utilize EOS Utility’s ability to transfer images directly into organized folders on your laptop.
– Custom Settings: Save custom shooting settings directly from your laptop for different photography projects.
Conclusion
Starting EOS Utility on your laptop opens a world of convenience and enhanced control over your photography. By following this guide, you are equipped to download, install, and troubleshoot EOS Utility, ensuring you can seamlessly transfer images, perform remote shoots, and alter camera settings directly from your laptop.
Frequently Asked Questions
What should I do if EOS Utility is not detecting my camera?
If EOS Utility isn’t detecting your camera, ensure that the USB cable is properly connected to both devices. Try using a different USB port or cable. Restart both the laptop and the camera.
Can I use EOS Utility with any Canon camera?
EOS Utility is compatible with most Canon EOS cameras. However, it’s important to check Canon’s official website for a list of supported models to ensure compatibility.
How do I update EOS Utility to the latest version?
To update EOS Utility, visit the Canon support website, search for your camera model, go to the ‘Drivers & Downloads’ section, and download the latest version of EOS Utility. Follow the installation instructions to update the software.